
Last updated November 2, 2026
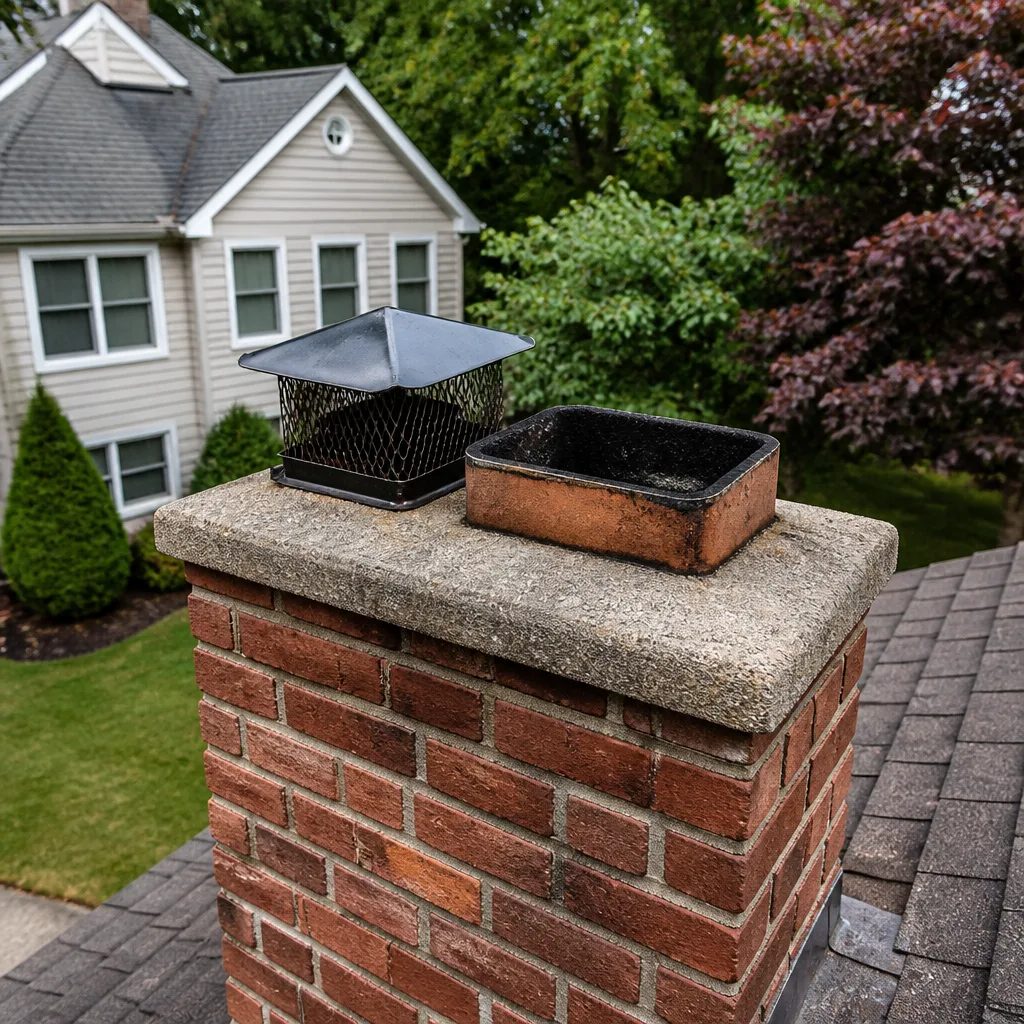 Sweep & inspection
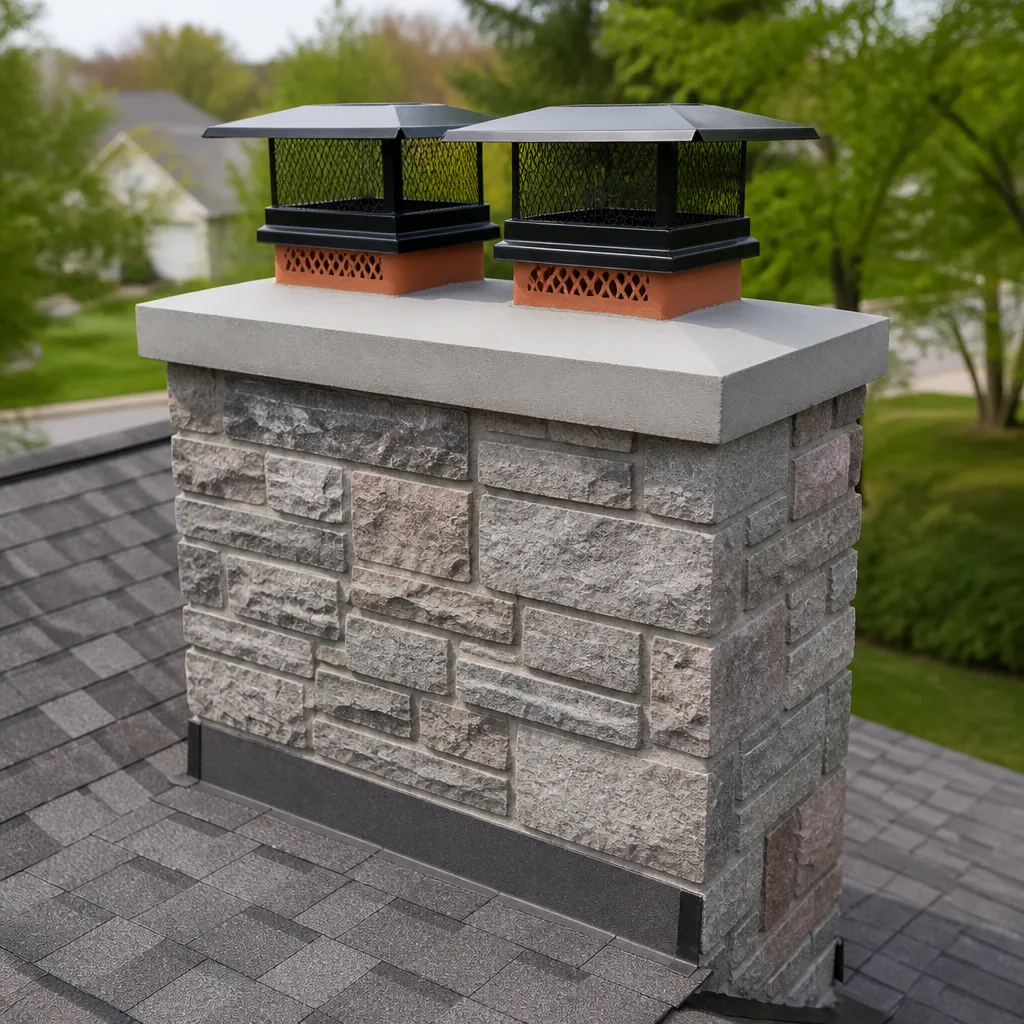 Caps & crowns
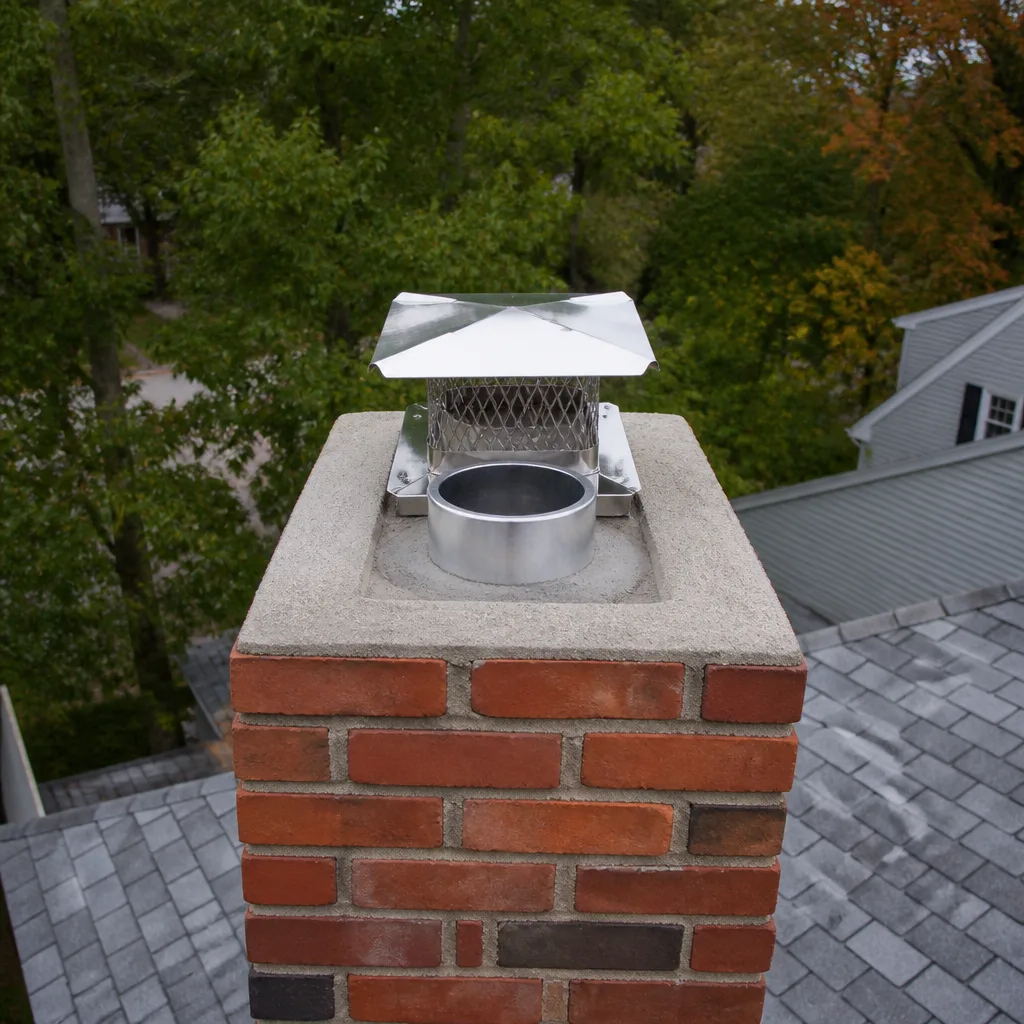 Flue relining
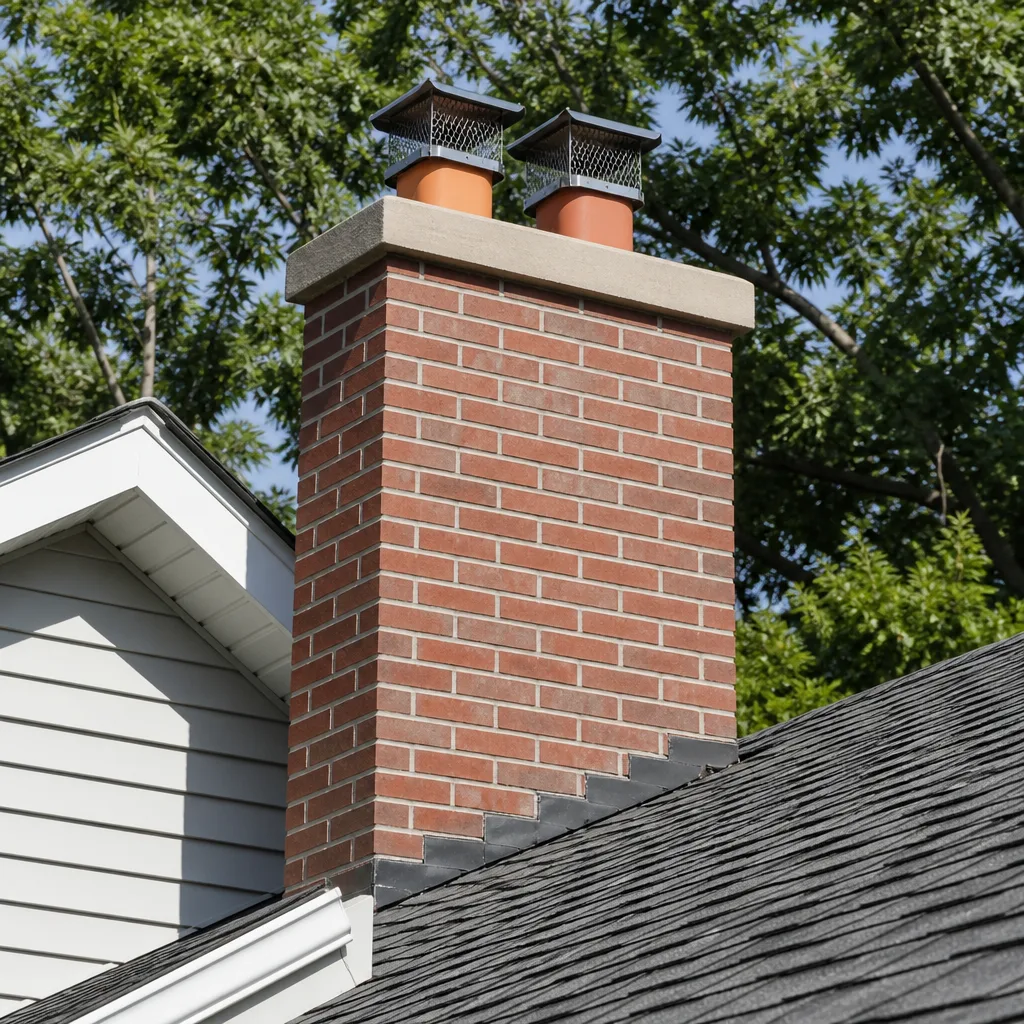 Masonry repair
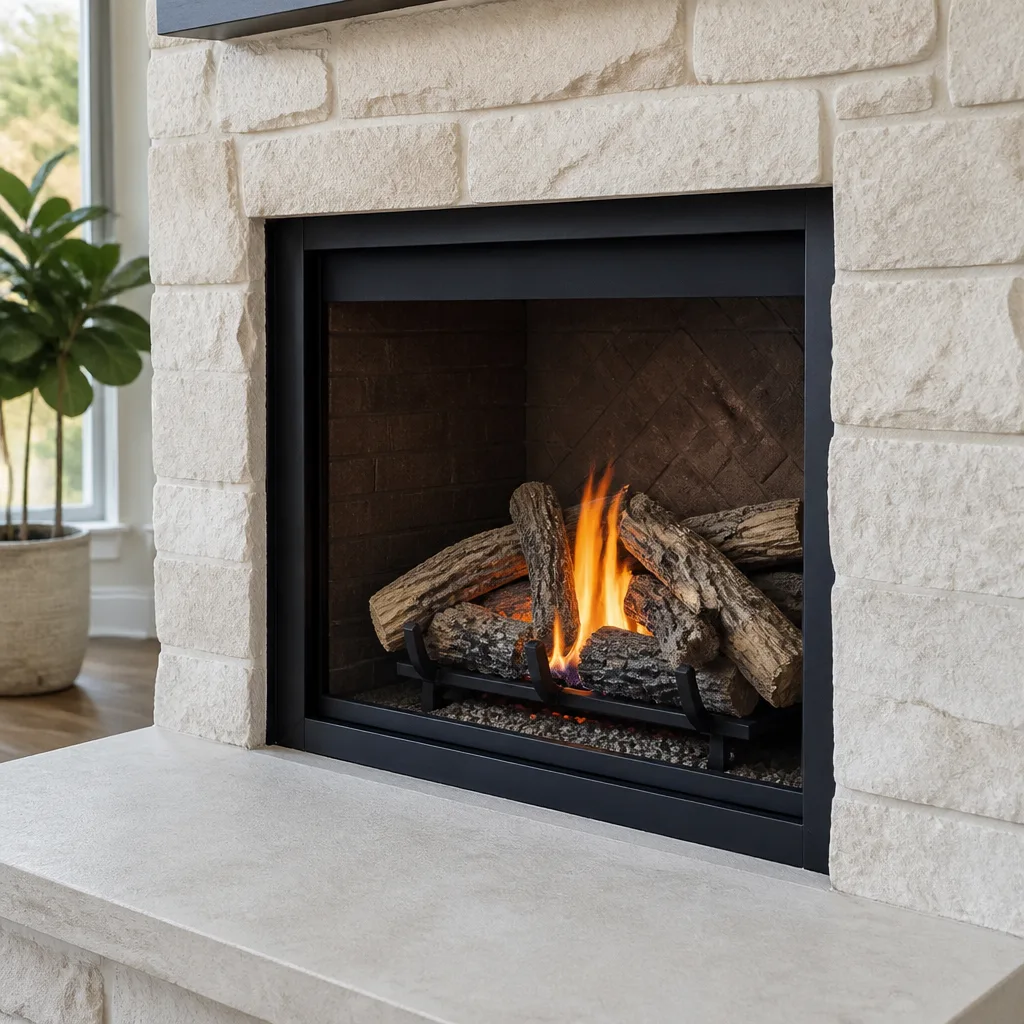 Gas fireplace service
Level 1 sweep and inspection to the NFPA 211 annual standard - flue, crown, cap, and flashing checked and photographed
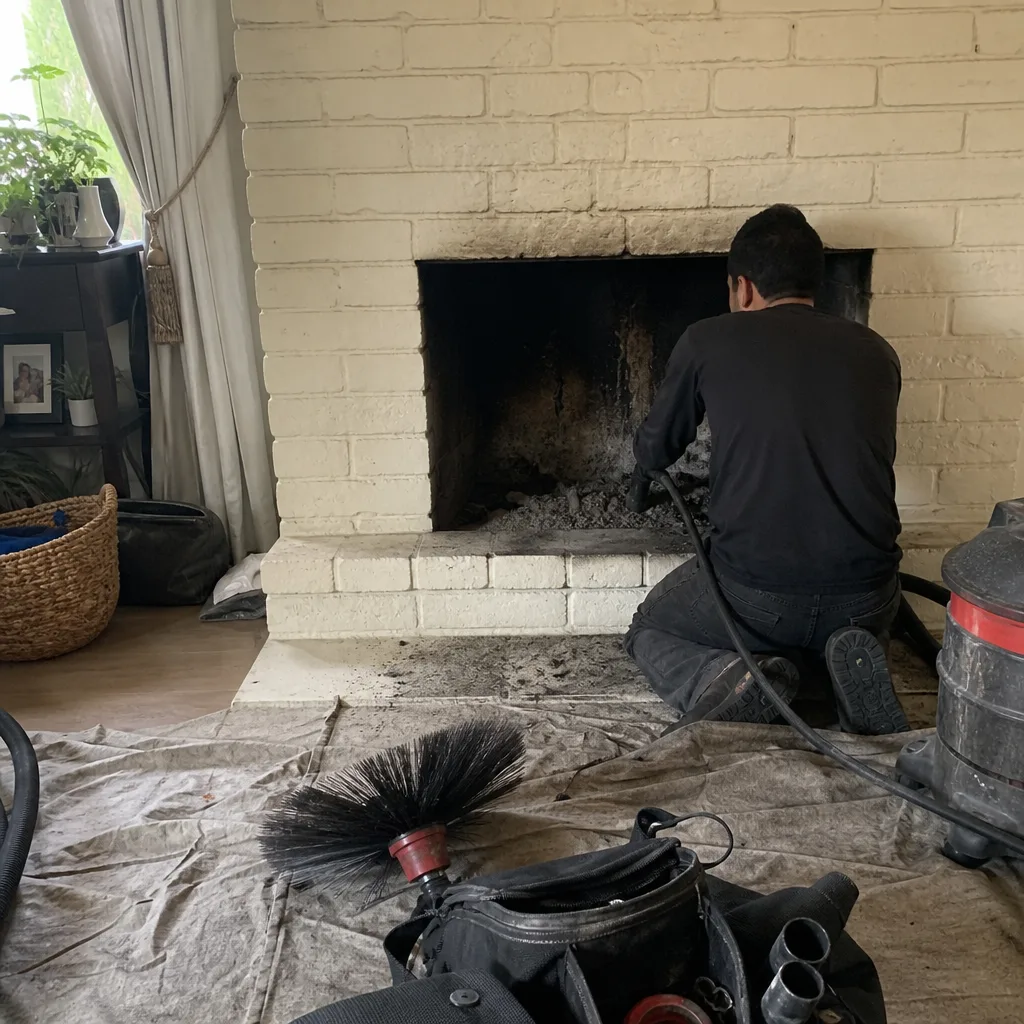
Chimney sweep logs do not sweep chimneys. They loosen some creosote - which then falls where a brush and vacuum still have to collect it.
Chimney Sweep Troubleshooting: Common Problems and How to Fix Them
Here’s something most chimney guides won’t tell you: buying a chimney deodorant to fix a smoke smell is like taking antacids for a broken arm. It addresses the sensation, not the source. In Lancaster, where winter nights dip into the 30s and fireplaces get real use from November through March, we see the same misdiagnoses year after year. A homeowner smells smoke in July, assumes the chimney is “dirty,” buys a $14 deodorizing product, and wonders why the smell comes back in three weeks. The truth is your chimney talks to you through its symptoms, and each symptom points to a specific mechanical or structural cause. This guide maps those symptoms to their actual root causes so you stop treating the wrong thing and start fixing the right one.
Quick Answer
Most chimney problems fall into four categories: drafting failures (smoke rollback, cold air backflow), odor issues (creosote, water intrusion, or animal matter), mechanical part failures (dampers, caps, chase covers), and structural deterioration (spalling brick, cracked flue liners, failing mortar). Each symptom has multiple possible causes, and the correct fix depends entirely on identifying which cause is active in your system. Roughly 60% of the issues we’re called to fix in Lancaster were made worse by a homeowner attempting the wrong repair first – so start with diagnosis, not action.
Styles & brands we work with
- Sweep & inspection
- Caps & crowns
- Flue relining
- Masonry repair
- Gas fireplace service
Table of Contents
- Smoke Rollback: The Four Causes Most People Confuse
- The Three Chimney Smells and What Each One Tells You
- When a New Chimney Cap Creates a Downdraft Problem
- Cracked Firebox: Cosmetic vs. Structural Using the Quarter-Inch Rule
- Damper Troubleshooting: Warped Plate, Corroded Frame, or Cable Adjustment
- Water Intrusion: The Problem That Masquerades as Everything Else
- Flue Liner Damage: What You Can See and What You Can’t
- Creosote Levels and Why “It Burned Fine Last Year” Isn’t a Plan
Smoke Rollback: The Four Causes Most People Confuse
Smoke rollback is the most common complaint we hear in Lancaster, and it’s also the one homeowners are most likely to misdiagnose. Here’s the thing: smoke rollback has four distinct root causes, and the fix for one actively makes another worse. If you treat the wrong cause, you’ll spend money and still have a smoky living room.
Here are the four causes, ranked by how often we see them in Lancaster homes:
- Negative air pressure from tight modern construction. Newer Lancaster homes, especially those built after 2010 with sealed windows and high-efficiency HVAC, create a vacuum effect. Your fireplace needs air to draft, but the house is actively pulling air out through bathroom fans, kitchen vents, and the furnace. The fireplace loses the tug-of-war. The hallmark sign: smoke rollback happens even when the flue is warm, and opening a window near the fireplace solves it within minutes. That’s your test. If cracking a window fixes the rollback, negative pressure is your culprit, and the real fix is a make-up air system or a direct outside air kit for the firebox, not a chimney repair.
- Cold flue at startup. Chimneys are open vertical shafts. When the air inside the flue is colder than the air in the room, the column of cold air sinks, pushing smoke back into the house. This is a physics problem, not a structural one. The test: this rollback happens only during the first 10-15 minutes of a fire, then resolves on its own as the flue warms. The fix is a proper preheating routine (rolled newspaper held in the flue for 30-60 seconds before lighting) or a top-sealing damper that keeps the flue warmer between fires.
- Actual obstruction. Bird nests, squirrel debris, fallen brick, or a collapsed liner can physically block the flue. The hallmark: smoke rollback happens consistently, regardless of outside temperature or how long the fire has been burning. You might also hear scratching sounds or notice debris falling into the fireplace. The test: from outside, shine a flashlight up the flue (or use a phone camera held up into the firebox with the damper open). If you can’t see daylight at the top, something is blocking the passage. This one’s a professional fix. Our Chimney Sweep in Lancaster covers obstruction removal as part of every sweep.
- Undersized flue for the firebox opening. This is a design issue, not a wear issue. The rule of thumb: the flue cross-section should be at least 1/10th the firebox opening area, and some fireplace-to-flue ratios need 1/12th depending on shape. An undersized flue can’t move enough air volume, so smoke spills out even when everything else is right. This is common in older Lancaster homes where fireplaces were built for show, not function, or where a previous owner swapped in a larger fireplace insert without resizing the flue. The fix: a flue liner resizing or an upgrade, which is a Chimney Repair in Lancaster scope, not a sweep.
The takeaway: before you call anyone, do the window test and the warm-up test. They’re free, they take five minutes, and they’ll tell you more than any product label.
The Three Chimney Smells and What Each One Tells You
Chimney odors are not a single problem with a single solution. In our experience, the smell itself is diagnostic. It tells you where in the system the problem lives, and that determines both the urgency and the fix. Here’s what the three distinct smells actually tell you.
Creosote smell (smoky, acrid, like a cold campfire). This is the most common odor in Lancaster homes that burn wood regularly. Creosote is the condensation product of wood smoke. It builds up on flue walls, and when the air gets humid or the chimney warms slightly on a sunny winter day, the creosote off-gasses. The solution is removal, not masking. A professional sweep removes the creosote at the source. But here’s the nuance: if you’re getting this smell in the middle of summer when you haven’t burned in months, that’s often a sign of water mixing with creosote inside the flue. Water intrusion changes the chemistry and makes the smell far more aggressive. That means you’re dealing with a cap or crown issue, not just a sweep.
Mildew or musty smell (damp basement or wet concrete). This points directly to water intrusion. Something is letting moisture into the flue or the masonry. Common Lancaster culprits: a cracked crown, failed flashing where the chimney meets the roof, or a chase top that’s rusted through. This smell often gets worse after rain, and if you climb into the attic and sniff near the chimney chase, you’ll get a stronger hit. The fix is water exclusion: new flashing, crown repair, a proper cap. We stock Gelco chimney caps and Olympia Chimney components for exactly these repairs. Masking this smell with a deodorizer does nothing. The water is still there, and water inside a chimney is the single most destructive force in the whole system.
Animal or organic smell (dead rodent, sour decay). This one gets urgent because it often means something got in and didn’t get out. Birds, squirrels, raccoons, and rodents enter chimneys through uncapped flues, and in Lancaster we see this constantly during spring and fall when animals are looking for nesting sites. If the animal died inside, the smell is unmistakable, and it won’t go away until the animal is removed and the flue is swept and sanitized. Beyond the odor, animal nests create fire hazards: dried nest material is incredibly combustible, and bird nesting material can block the flue entirely. The fix starts with a professional inspection and removal, then a properly sized cap to keep it from happening again.
A quick note on trying to own this yourself: climbing to a roofline to inspect a cap is dangerous work. We recommend letting a professional handle any inspection that requires ladder work. The diagnosis you can do from the ground: note the smell, note when it’s strongest (after rain, during humidity, after a fire), and that’ll get you most of the way there.
When a New Chimney Cap Creates a Downdraft Problem
Here’s a counterintuitive one: a homeowner installs a new chimney cap to fix animal intrusion or water entry, and suddenly the chimney drafts worse than before. It feels like a broken fix. But what’s actually happening is a straightforward fluid dynamics problem, and it’s one of the most common cap-related issues we see in Lancaster.
Chimney caps come in different styles and sizes, and the relationship between the cap’s mesh size, lid clearance, and the flue diameter matters more than most people realize. A cap with mesh that’s too fine or too restricted creates turbulence at the flue exit. The smoke reaches the top, hits the cap’s geometry, and can’t exit cleanly. Instead it curls back into the flue or spills around the edges, creating a downdraft effect that reads exactly like a drafting failure. The smoke is exiting the flue. It just can’t get past the cap.
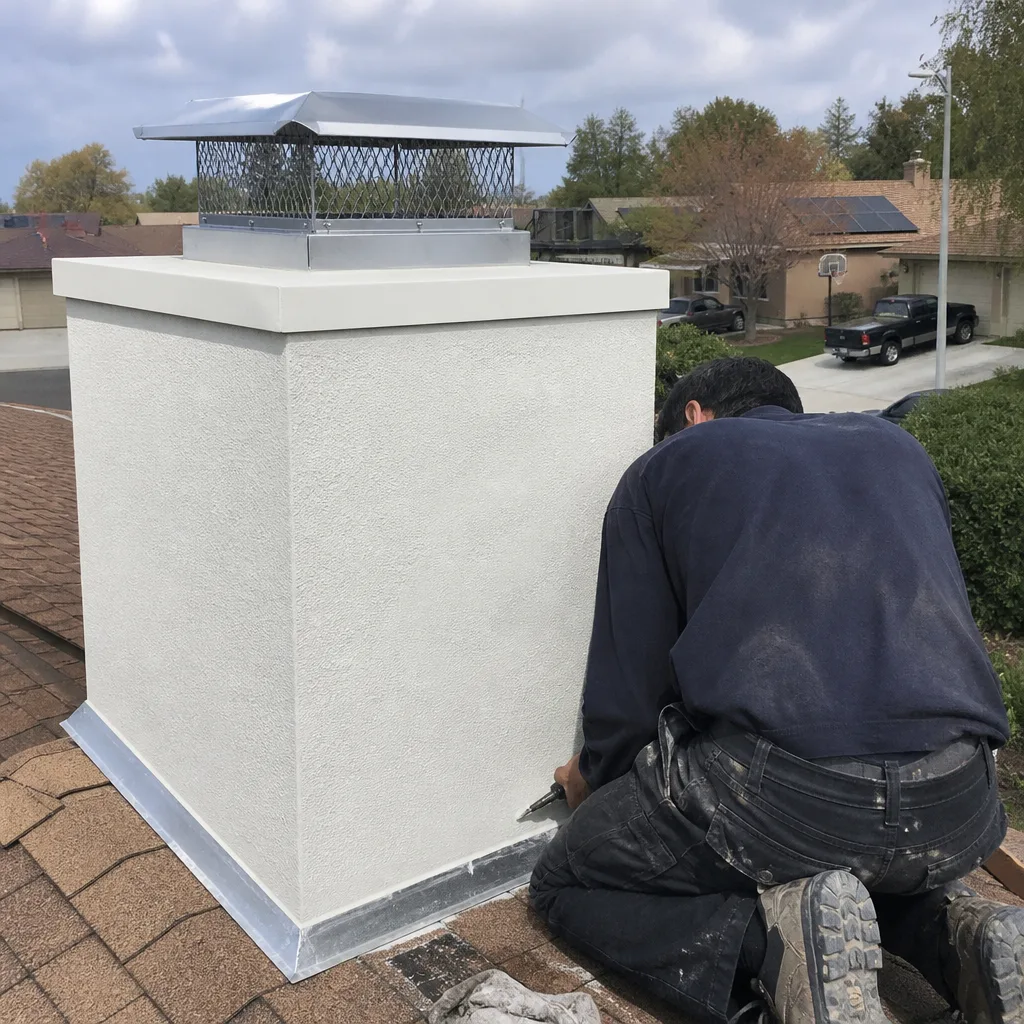
The mesh opening is the usual culprit. Standard chimney cap mesh is typically 3/4-inch openings for spark arrestor compliance. But fine mesh, like 1/4-inch or 3/8-inch, can clog with soot and creosote quickly, especially if you burn regularly. Once the mesh starts to clog, airflow restriction increases, and the cap that was supposed to fix one problem starts creating another.
The lid clearance issue is subtle. If the cap’s lid sits too close to the top of the flue, the smoke hits the lid and bounces back down. There needs to be enough vertical clearance between the flue opening and the cap lid for the smoke to expand and escape. A properly sized cap accounts for your flue’s inside diameter. The cheaper universal-fit caps don’t account for much of anything.
The fix starts with measuring: your flue’s inside diameter, the cap’s mesh opening size, and the lid clearance. If the cap was recently installed and the drafting problem started the same week, the cap is the likely variable. Swapping to a properly sized cap with 3/4-inch mesh and correct lid clearance typically resolves the issue immediately. We install Gelco and Olympia Chimney caps in Lancaster specifically because their sizing charts match flue diameter to cap opening with less guesswork.
And the deeper lesson: a chimney is a system, not a collection of parts. When you change one component, you change how the whole system behaves. That’s why we recommend a full system inspection before any component replacement, not just a part swap.
Cracked Firebox: Cosmetic vs. Structural Using the Quarter-Inch Rule
A cracked firebox sends a lot of homeowners into panic mode, and sometimes that’s the right response. But often, the crack is cosmetic and has been sitting there for decades without moving. The difference between “keep an eye on it” and “you need repair now” comes down to width, depth, and location. You don’t need to be a mason to make the call.
Here’s the quarter-inch rule we use on every inspection in Lancaster. If the crack is less than 1/4-inch wide and hasn’t grown in size between seasons, it’s typically a cosmetic surface crack from thermal expansion. Fireboxes heat and cool rapidly, and the refractory mortar or firebrick expands at a different rate than the surrounding masonry. Over years, this creates hairline surface cracking that looks alarming but doesn’t compromise the firebox’s function or safety. You monitor it. You don’t repair it.
If the crack is wider than 1/4-inch, or if it’s growing, or if chunks of firebrick or mortar are actually falling out, that’s a structural issue. The firebox is failing, and at that point you’ve got two compounding risks. First, the structural deterioration will continue to worsen with every fire cycle. Second, and more importantly, the firebox is supposed to contain the fire and heat. Cracks wider than a quarter inch can allow heat to reach combustible materials in the wall behind the firebox, and that’s how chimney fires start even when the flue is clean.
Location matters too. Cracks in the side walls or back wall are more common and less urgent than cracks at the firebox-to-floor joint or near the lintel. Cracks running through the lintel (the metal or stone beam across the top of the firebox opening) deserve immediate attention because the lintel carries structural load.
The good news: firebox repair in most Lancaster homes is a same-day job when caught early. The firebrick or refractory panels get replaced or re-mortared, and the system returns to safe working condition. We use HeatShield-compatible repair materials and professional-grade refractory mortar for this work, never big-box patching compound. Fireboxes are exposed to direct flame, and the materials matter.
Damper Troubleshooting: Warped Plate, Corroded Frame, or Cable Adjustment
Dampers fail in predictable ways, and surprisingly, some of them are actually DIY-addressable. The key is knowing which type of failure you’re looking at, because the fix is different for each one.
The three most common damper failure modes we come across in Lancaster homes:
- Warped damper plate. This happens when someone burns a fire with the damper partially closed, or when a chimney fire superheats the metal plate. The plate warps and no longer seals flat against the frame. The symptom: you always feel a small draft from the fireplace, even when the damper is closed, and the plate visibly doesn’t sit flush. A warped plate is a parts replacement. It’s not worth trying to straighten because the metal has lost its structural integrity. The fix is replacing the plate or the entire damper assembly, depending on the age and design.
- Corroded damper frame. This is what we see in older Lancaster homes where the damper frame is original to the house. Years of moisture exposure, especially from rain entering through an uncapped or improperly capped flue, rust the frame. The damper may look fine, but it no longer seats properly because the frame itself has deformed. The symptom: the damper feels loose or wobbly when you open and close it, and you get air leakage around the edges. Fix: frame replacement, which is a Chimney Repair in Lancaster job, usually combined with a cap installation to stop the water entry that caused the rust in the first place.
- Cable system out of adjustment. If you have a top-sealing damper or a newer fireplace with a cable-operated damper, the cable stretches over time. The symptom: the damper doesn’t fully close even when the handle is in the “closed” position, or it closes unevenly. The fix here can be as simple as adjusting the cable tension. Many cable systems have an adjustment point at the handle or the mounting bracket. Five minutes with a screwdriver can resolve this in some cases. If the cable itself is frayed or the handle is stripped, it’s a parts replacement.
Here’s the thing about dampers: a properly functioning damper does double duty. It keeps warm air in your house from escaping up the flue when the fireplace isn’t in use, and it keeps cold air from dropping down into the room. A failing damper costs you energy dollars every single month, even if you never notice the draft. In Lancaster’s winter, with overnight temperatures regularly below 40 degrees, a leaky damper is a slow, quiet drain on your heating bill.
Water Intrusion: The Problem That Masquerades as Everything Else
Here’s a statement we stand behind: water is the root cause of more chimney damage in Lancaster than fire ever will be. Fire damage is dramatic and obvious. Water damage is slow, hidden, and blamed on everything else. A homeowner notices a strange smell, chalk it up to creosote. They notice spalling brick, assume the chimney is “just old.” They see efflorescence (white powdery stains), think it’s normal wear. In reality, all three are water problems.
Water enters a chimney system through four main entry points, and each has a different fix:
- Failed crown. The crown is the concrete slab on top of the chimney that slopes water away from the flue. Over years, temperature swings and poor original construction create cracks. Small cracks admit water into the masonry below, and freeze-thaw cycles in Lancaster’s winter make those cracks worse every season. The fix: crown repair with flexible crown coat material, which moves with the chimney’s expansion instead of cracking like rigid concrete.
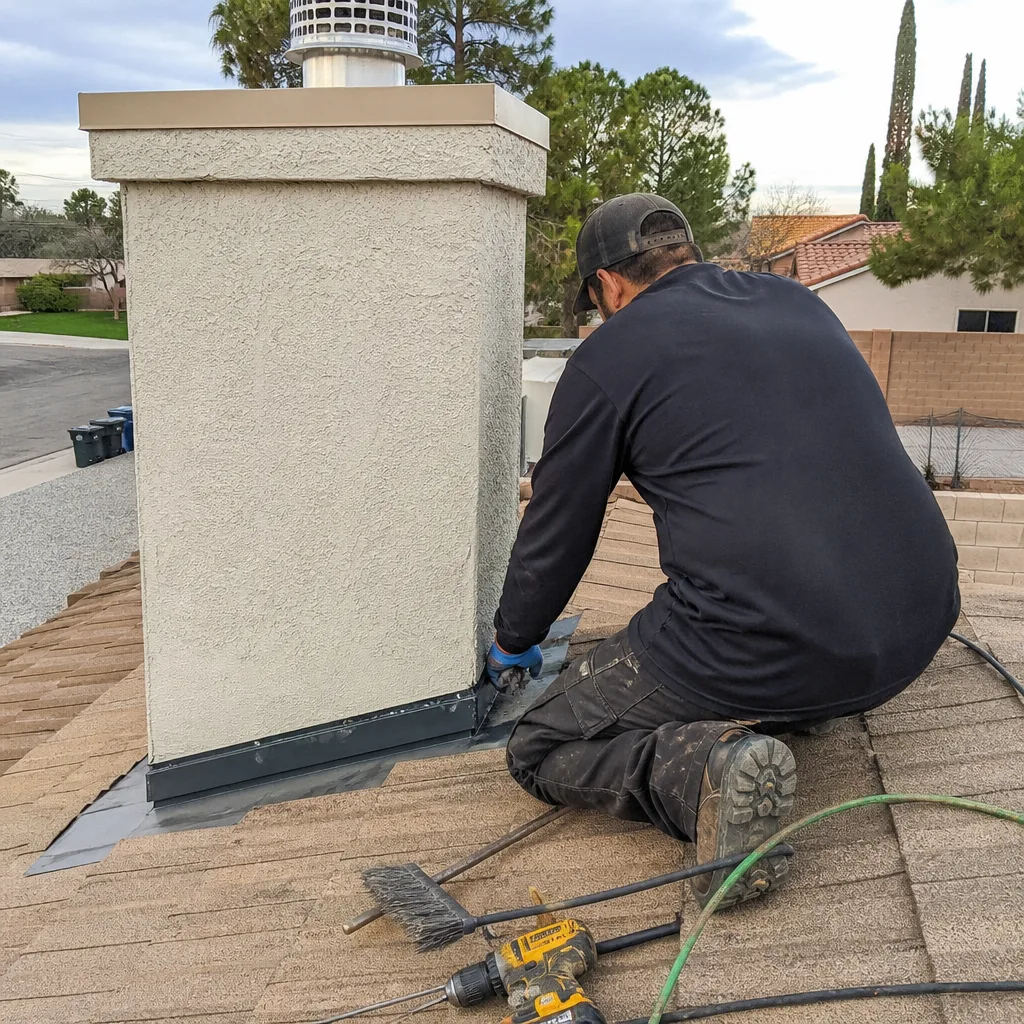
- Failed flashing. The metal strips where the chimney meets the roofline degrade over time. The symptom: water staining on the ceiling near the chimney or inside the attic. Flashing failure is common in Lancaster because the region’s temperature swings stress the junction between the masonry and the roofline. The fix: replacement with proper professional-grade flashing, not roofing tar.
- Bad or missing cap. An uncapped flue lets rain fall directly into the fireplace. This is the easiest water entry point to identify and the easiest to fix. Gelco and Olympia Chimney caps protect the flue from direct precipitation while allowing proper drafting.
- Spalling brick and degraded mortar. As brick absorbs water and freezes, the face of the brick starts to flake off. This exposes the softer interior brick, which absorbs even more water, accelerating the failure. Missing or cracked mortar joints (the horizontal bedding mortar between bricks) create pathways for water to enter the structure. The fix: tuckpointing (re-pointing the mortar joints) and brick replacement where necessary.
Water intrusion is not a “deal with it later” problem. Every season of exposure does compounding damage. The freeze-thaw cycle in Lancaster means a small crack this year becomes a wide crack in three years. And because the damage happens where most homeowners never look (the crown, the flashing, the upper flue), it usually goes unnoticed until the repair bill has doubled or tripled.
Flue Liner Damage: What You Can See and What You Can’t
The flue liner is the most important safety component in your chimney, and it’s also the one you can’t fully inspect from the ground. That gap between what you can see and what’s actually happening inside the flue is where dangerous conditions develop silently.
Your flue liner serves three functions. It contains the heat of the fire, it protects the surrounding masonry from creosote and acidic byproducts, and it provides a smooth, correctly sized passage for smoke to exit. When the liner cracks or degrades, you lose all three functions at once. The fire’s heat can now reach the chimney’s structural masonry, creosote can seep into the brick and mortar, and the draft can deteriorate.
The visible signs of liner damage from a ground-level inspection:
- Pieces of clay tile or brick showing up in the fireplace after a storm or a fire.
- White or brown staining on the exterior chimney brick that doesn’t match water entry patterns.
- A sudden change in drafting behavior that can’t be explained by negative pressure or cold flue.
- A chimney fire in the past (even a small one), which typically cracks clay liners.
The signs you can’t see without a camera inspection: hairline cracks in the liner, missing mortar joints between flue tile sections, and liner sections that have shifted out of alignment. This is where a camera inspection earns its value. We run a camera up every flue we inspect in Lancaster, and the difference between what’s visible from the top and what the camera reveals inside is often night and day.
If liner damage is confirmed, the repair path depends on severity. Minor cracking can often be addressed with HeatShield, a cerfractory sealant system that reinforces damaged flue tiles from inside. The process takes about a day, doesn’t require demolition, and returns the flue to safe working condition without a full rebuild. More severe structural failure calls for a DuraFlex flexible liner, which is inserted through the existing flue and creates a new, code-compliant passage. This is the same liner system used by certified chimney technicians across the country, and it’s the one we install for Lancaster homes.
Liner damage is not a wait-and-see issue. A compromised flue liner is the single greatest predictor of chimney fire risk, and it’s also the one condition that changes how your home’s insurance company will view a fire claim if one occurs.
Creosote Levels and Why “It Burned Fine Last Year” Isn’t a Plan
Creosote is the byproduct of incomplete combustion. Wood doesn’t burn completely, so smoke carries unburned carbon, tar, and moisture up the flue. As the smoke cools, those compounds condense on the flue walls. The more creosote builds up, the less efficientyour chimney is, and the more risk you carry.
Chimney professionals classify creosote in three stages:
- Stage 1: Flaky or sooty deposit. This is loose, dark powder or flakes that brush off easily. Every chimney that burns wood produces Stage 1 creosote, and it’s what a routine sweep removes. If your chimney is at Stage 1 or lower, you’re in good shape.
- Stage 2: Tar-like, sticky deposit. This is where things get more serious. The creosote has condensed into a sticky, tar-like layer that resists brushing and adheres to the flue walls. Stage 2 creosote burns readily and is a significant fire hazard. Removal at this stage requires specialized tools and sometimes chemical treatment first.
- Stage 3: Glazed, hard creosote. This is the most dangerous condition. The creosote has hardened into a shiny, glass-like coating. It’s highly combustible, extremely difficult to remove mechanically, and almost always requires chemical treatment or abrasive cleaning methods. Stage 3 creosote in a flue that’s been in regular use is a chimney fire waiting to happen.
Here’s the uncomfortable truth: “It burned fine last year” is not a maintenance plan. Creosote builds up gradually, and your drafting quality doesn’t necessarily change as creosote accumulates. You can have a dangerously thick layer of Stage 2 or 3 creosote and the chimney still drafts acceptably. The first sign of a problem with a dirty flue is often the chimney fire itself.
The National Fire Protection Association recommends annual chimney inspection and cleaning as needed. For Lancaster homeowners who burn wood regularly during the winter months, a yearly sweep before the burning season starts is the baseline. If you burn sappy or green wood, or if you burn more than three cords per season, you may need a mid-season sweep as well.
Our Chimney Sweep in Lancaster covers all three creosote stages, and we’ll tell you honestly where your flue sits and whether it’s a routine clean or a more involved job. No scare tactics, no upselling. Just a straight read on what’s inside your chimney.
Common Mistakes to Avoid
- Using chimney deodorant instead of removing the source. Chimney deodorant masks odor for a few weeks. The creosote, water, or animal matter is still there, and the problem will be worse when the smell returns. Deodorant treats a symptom, not a cause.
- Burning “cleaning logs” instead of doing an actual sweep. Creosote-burning logs can help loosen Stage 1 creosote, but they don’t remove it. The loosened material still has to come out of the flue. If you burn a cleaning log and don’t sweep, you’ve converted loose creosote into loose creosote inside your chimney with no removal. That’s not a solution.
- Ignoring a small water stain on the ceiling near the chimney. That stain is telling you something. By the time water shows up on your ceiling, it’s been entering the chimney for months or years. Address it now, and it’s a flash repair. Address it in three years, and it’s a crown rebuild plus masonry repair.
- Closing the damper on a fire “to make it last longer.” This creates incomplete combustion, rapid creosote buildup, and can allow carbon monoxide into the home. The damper should be fully open while the fire is burning. Period.
- Assuming the chimney cap is “fine” because it’s still attached. Caps degrade slowly. Rust, bent mesh, and shifted lids all change cap performance. A cap that’s been up for 10 years is likely not doing what it did on day one.
- Running the dryer vent into the chimney cavity. We see this in some older Lancaster homes. Dryer exhaust has no business entering a chimney. The lint and moisture accelerate masonry deterioration and create a fire hazard. This is a Dryer Vent Cleaning in Lancaster scope, but it’s often uncovered during chimney inspections.
- Not checking the chimney at all because “we never use the fireplace.” Even an unused chimney deteriorates from water, animals, and temperature cycles. If you don’t use the fireplace, it’s still worth an inspection every couple of years. A chimney you don’t use is a water intrusion point you’re not monitoring.
See the difference
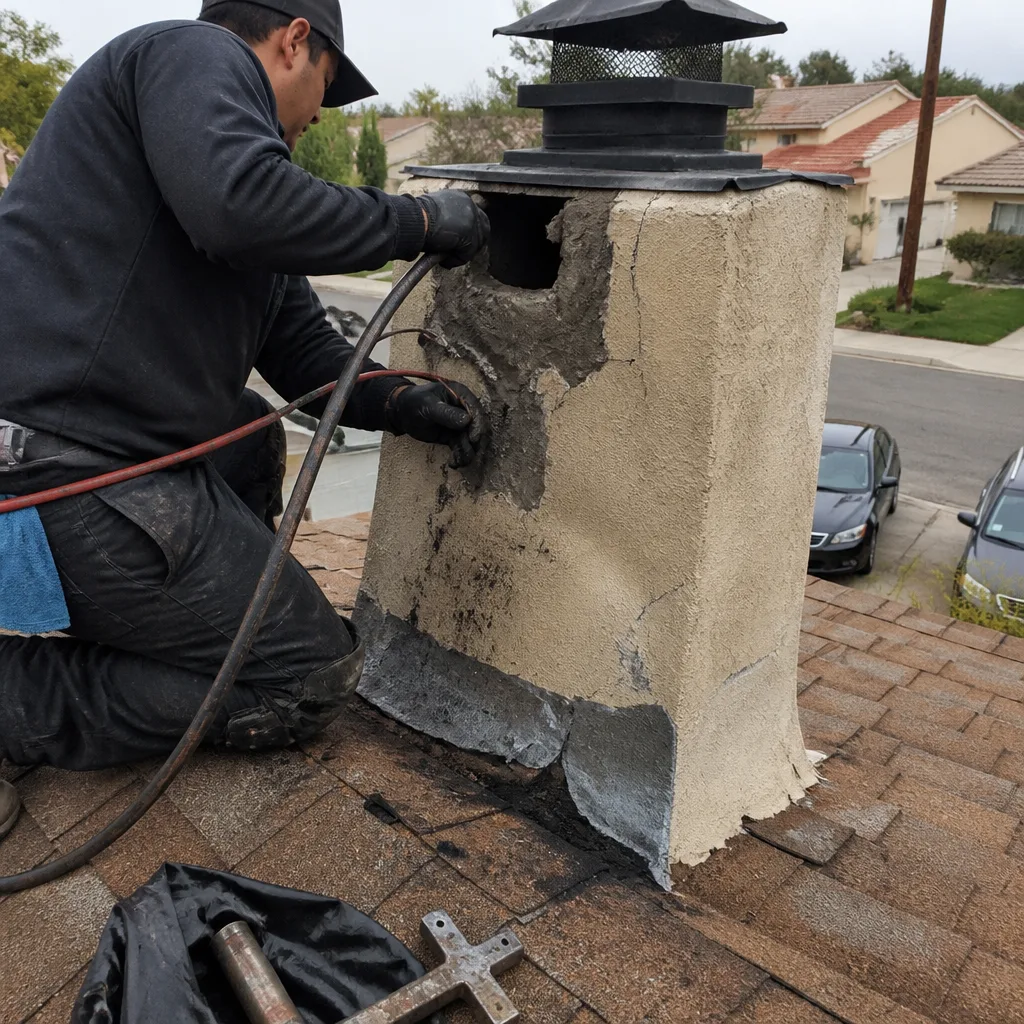 Before
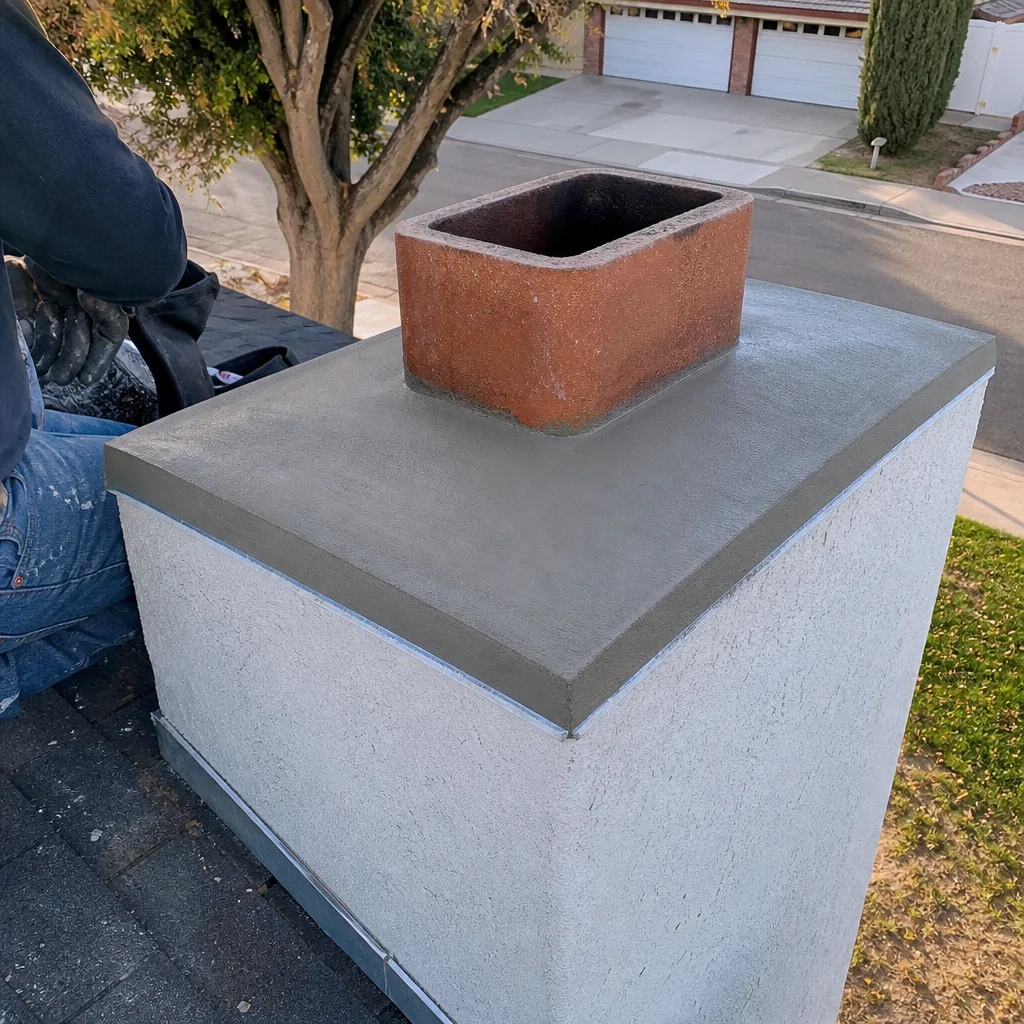 After
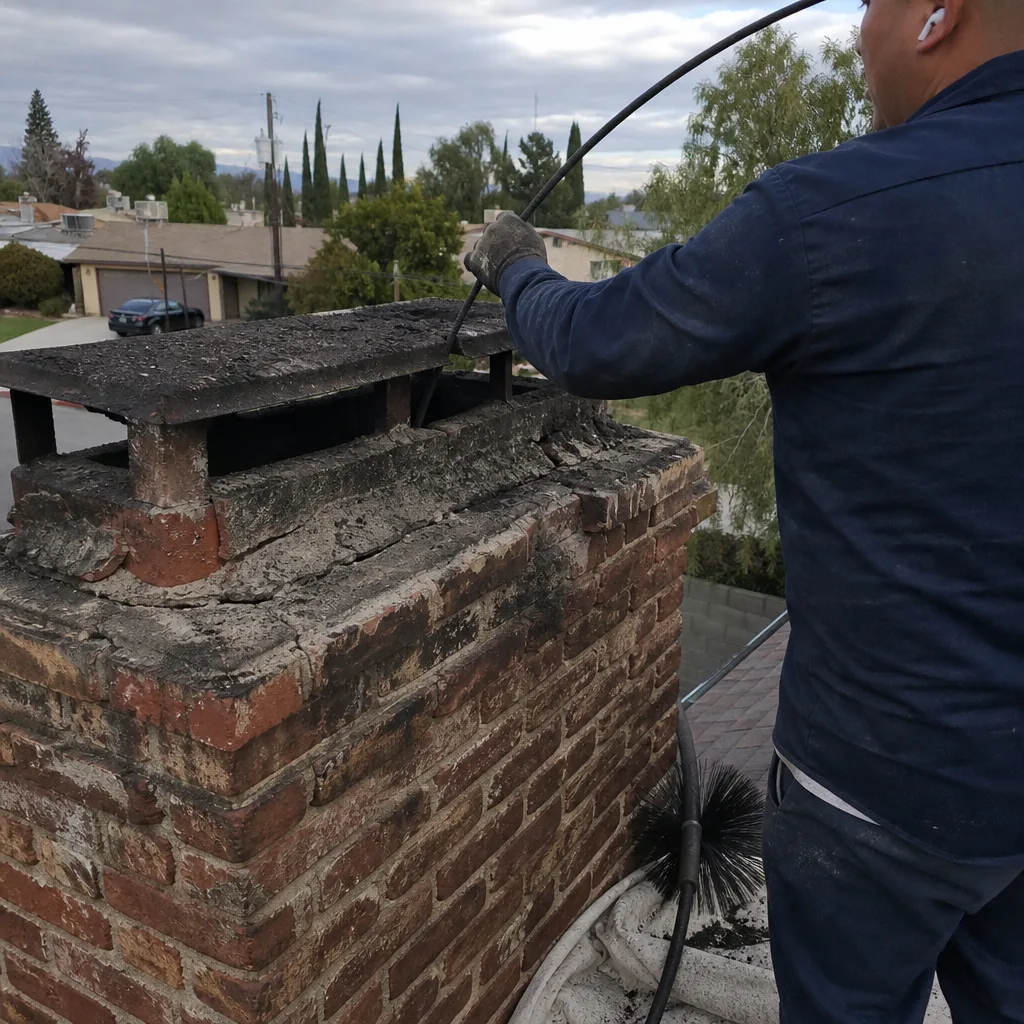 Before
 After
 Before
 After
When to Call a Professional
Here’s the honest threshold. You can diagnose from the ground. You can do simple tests like the window-crack negative pressure check. You can feel for cold air around the damper. But anything that requires getting on the roofline, removing the chimney cap, inspecting the flue interior, or working inside a confined flue space should be left to a trained professional. The risks are too serious: falls from roof heights, carbon monoxide exposure, and hidden structural damage all demand proper equipment and experience. If you’ve got smoke rollback that doesn’t respond to the simple fixes, animal activity in the flue, water staining you can’t source, or a burning smell after a chimney fire, the correct move is an inspection, not more guessing.
Chimney Cleaning Lancaster offers free estimates in Lancaster – call (877) 376-0565 to schedule an inspection or sweep.
Frequently Asked Questions
A standard chimney sweep in Lancaster typically runs between $180 and $320 for a single-flue residential chimney, with price varying based on creosote level, accessibility, and whether any repairs are identified during the sweep. Routine sweeps for a well-maintained chimney sit at the lower end; a flue with Stage 3 creosote or animal debris requiring extra labor and disinfection lands at the higher end. Call (877) 376-0565 for an exact quote – estimates are free.
A chimney should be swept at least once per year, and ideally before the burning season starts, which in Lancaster means a late-summer or early-fall sweep. Homes that burn more than three cords of wood per season, or that burn unseasoned wood, may need a mid-season sweep as well. Gas fireplaces rarely need annual sweeping but do require annual inspection of the venting and gas connections.
You need a new liner if the existing liner is cracked, deteriorated, or improperly sized for your fireplace, and not otherwise. The only way to verify this is with a camera inspection, which we run as a standard part of our Lancaster inspections. If liner damage is confirmed, HeatShield restoration can often repair the existing flue without full replacement, which saves significant cost. Never accept a liner recommendation without seeing the camera footage yourself.
Skipping a sweep means creosote continues to build up on the flue walls. That creosote is combustible, and if it ignites, you’ll have a chimney fire that can reach 2,000°F inside the flue. Chimney fires crack flue liners, damage masonry, can spread to the house’s structure, and sometimes burn undetected for hours. Even if no fire occurs, the creosote buildup accelerates liner corrosion and makes the eventual cleaning more difficult and more expensive. The $200 annual sweep is the cheapest chimney service you’ll ever buy.
You can physically perform a basic chimney brushing yourself if you have the right equipment and a safe roofline to work from, but we don’t recommend it for most homeowners in Lancaster. The risks of rooftop work are significant, and without a camera inspection you’re likely to miss liner damage, obstruction, or water intrusion even after you’ve brushed. A professional sweep includes an inspection, and the inspection is where most of the safety value lives.
Rain-related fireplace smells in Lancaster are almost always a water intrusion signal. Rain enters the flue through a failed cap, cracked crown, or bad flashing, mixes with creosote or soot inside the chimney, and creates an aggressive odor that gets worse with humidity. The answer is fixing the water entry point, not deodorizing. A properly sized Gelco or Olympia Chimney cap and intact crown solve this issue at the source.
More Resources from Chimney Cleaning Lancaster
- See how a professional Chimney Sweep in Lancaster works and what to expect from the service.
- Explore Chimney Repair in Lancaster for liner, crown, and flashing fixes.
- Learn why Dryer Vent Cleaning in Lancaster is a separate safety issue worth taking seriously.
- Return to the Chimney Cleaning Lancaster home page for an overview of all services.
The Bottom Line
Chimney problems are diagnoses, not guesses. Every symptom you notice, from a smell to a draft to a crack, points to a specific root cause, and treating the wrong cause wastes money and time. Start with the free tests you can do yourself: the window-crack test for negative pressure, the warm-up test for cold flue, the quarter-inch rule for firebox cracks. If those point to something mechanical, structural, or hidden inside the flue, a professional inspection with camera verification is the next step, not a product purchase, not a cleaning log, not deodorant. Lancaster homeowners who invest in proper diagnosis and professional-grade repair materials (the same ones we stock and install: Gelco, Olympia Chimney, Famco, and Copperfield) avoid the cycle of recurring problems that come from treating symptoms one at a time. Call (877) 376-0565 when you’re ready to find out what’s actually going on in your chimney.
Written by the team at Chimney Cleaning Lancaster, serving Lancaster since 2013.